EazyDraw Orthogonal Path Tool Drawing Orthogonal Paths EazyDraw Raw App For Help

You use one of the "Orthogonal Path Tools" (shown above) which is found on the Technical Tool Palette to create these graphics. If the palette is not visible open it by selecting "Technical" from the "View" item of the "Main Menu". The new orthogonal path will be drawn on EazyDraw’s front window. The desired window must be brought to the front before clicking on the tool.
These paths are drawn by clicking the "Orthogonal Tool Button" on the "Technical Tool Palette". The "Tab Creation Cursor" (shown above) will reflect the tool selection when the mouse is over the front (top) document window. The path is drawn by click and drag, tracing out the desired path. The first click and drag defines the first segment of the path. Then a mouse click or Tab key is used to define each vertex (corner) of the orthogonal path.

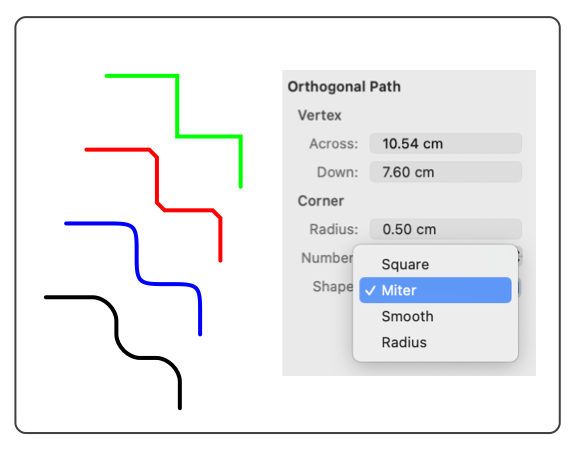
There are four "flavors" of corner shapes for these paths, Square, Miter, Smooth and Radius. These may be selected from the Graphic Details Inspector . or the Connector Parameter Palette . The Smooth selection is similar to a radius but not a pronounced, it is a cubic blend shape.

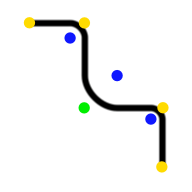
The Orthogonal Radius Path has a defined radius at each corner. When selected there is a blue handle at each corner that is used to adjust the radius. The radius adjustment may be applied independently to each corner for each of the possible corner shapes.

EazyDraw Help Pages example

The new path becomes the only selected object after creation. You may move or resize the spiral by clicking near the path. If you need to specify the path numerically use the Graphic Details Inspector to inspect and specific coordinates and radius of each leg of the path.

If several of these paths are needed, double click the corresponding tool. It will remain in effect after creation so that further orthogonal paths may be easily added to the document. Clicking another tool or the Arrow tool will release the spiral creation activity.