

|
Drawing Arcs |

|
|
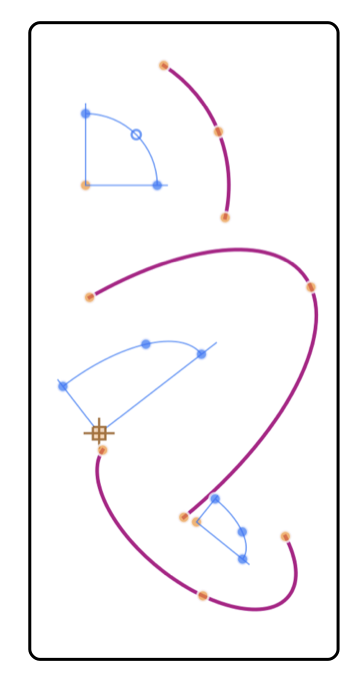
You use the "Arc Tool" (shown above) which is found on the Tools Palette to create arcs. If the palette is not visible open it by selecting "Tools" from the "View" item of the "Main Menu". The new arc will be drawn on EazyDraw’s front window. The desired window must be brought to the front before clicking on the tool. The Arc and Pie tools have an inherent focus on the geometric center point of the arc. Geometric center meaning the center of the full circle or ellipse that defines the arc. In many cases an arc is needed to join two defined points, such as the end of two perpendicular lines; in these situations the Corner tool should be used. Corners are also arcs but they are are drawn and edited with a focus on the end points of the arc rather than the center point.

A new arc is required to have at least 10 degree span. This prevents inadvertent creation of zero-degree span arca that are nearly invisible. This minimum value is useful for quickly creating an arc, it means that a simple click - drag - click will place an arc on the drawing. It is then easier to adjust and edit this arc than to try to tediously create the exact geometry needed with the initial arc creation steps. The new arc becomes the only selected object after creation. You may move or resize the arc by clicking on the path of the arc (the virtual region defined by the center, start line, end line and swept arc) or on one of the handles. If you need to place the arc at a particular position, make it a certain size or change it to counterclockwise this may be accomplished after the creation step by using the Graphic Details Inspector to modify the specific parameters of the arc. If several arcs are needed, double click the arc tool. The arc tool selection will remain in effect after creation so that further arcs may be easily added to the document. Clicking another tool or the Arrow tool will release the arc creation activity. If arcs are needed frequently, the arc tool may be added to the Toolbar. If you prefer this convenience use the Customize Toolbar item found under "View" on the "Main Menu". There you will see the "Arc Tool" button, just drag it to the position you prefer on the Toolbar. |